Person's first devlog! Color picker!
Hey everybody! It's Person writing the devlog today, because we decided that I should give it a shot! We wanted to let you know we're still working at this game, and that we both really appreciate your patience waiting for our updates! The first thing to talk about probably has to be the color wheel Oh boy, the color wheel Or should I say, color square?
Because it's a square now.
A solid, sturdy shape, unlike those shifty slippery circles It could've been manually inputting hex codes, or RGB sliders, but we decided to go the extra mile so you all could have the best form of color selector out there; an HSV pallet!
In all seriousness, getting the color selector up and running was a process that took learning a few new things to get it working Namely, Renpy's color system (very nice and easy), the Renpy drag-and-drop system (very saddening), and a secret third thing (a python library I didn't know about before)
We started with a square color pallet texture that we hue rotated to match the hue selected by the player; sounds super weird, but "hue rotating" really just means sliding the hue along the color spectrum from red to purple, looping around from purple/violet/whatever-you-call-it back to red like on a color wheel if you slide too far.
Notably, red is considered 0 on this scale, which is why the starting image of our pallet square actually has to be red and not some other color! Now, how do you get a pallet, you might ask? Well, first we tried to just have Star make one in an art program, but it was never quite right; our purpose required a square that was exactly half as bright halfway up the image, a quarter as bright when going a quarter of the way up, and so on
(and the same going for saturation but from left to right). But there was a better (if not easier) way. What's more pixel perfect than a computer? And so I whipped up a lovely chunk of code little enough to fit in a thimble!
| Star was formatting this and wasnt sure how to get rid of this table she added <3 sorry <3 |
from PIL import Image
newImage = Image.new("HSV", (500, 500), (0, 255, 255))
for x in range(0, newImage.width):
for y in range(0, newImage.height):
saturation = round(255 * x/newImage.width)
value = round(255 * (1 - (y/newImage.height)))
newImage.putpixel((x, y), (0, saturation, value))
newImage = newImage.convert("RGB")
newImage.save("ShinyNewSquare.png")
print("Alllll done!")
~~~~~~~~~~~~~~~~~~~~~~~~~~~~~~~~~
This is straight up the exact code I wrote to generate the square, copy-pasted. All it takes to work is installing the Pillow python library! We didn't actually run it in Renpy at all; I just ran it directly on my own computer to generate the image file. Trying to extract information from the documentation for how to use Pillow was like pulling teeth, but with a bit of help from another programming friend (who has better reading comprehension than me), I managed it! And what a lovely result we have for it!
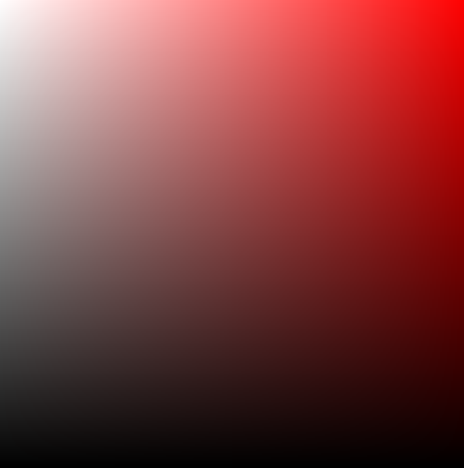
Just look at that gorgeous gradient!
The aforementioned coder friend suggested a small variant of the program to try out just for fun, so I'll throw that in as a bonus for you as well
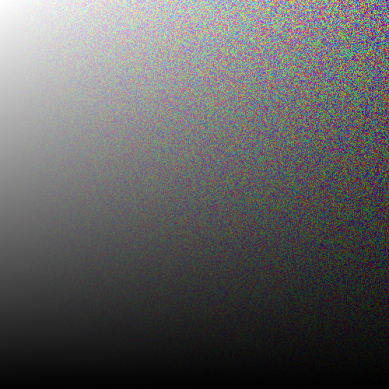
Despite visual similarities to a memetic kill agent, or perhaps a visual representation of what it's like to drink Sprite, it's really just the same as the original code with the hue randomized for each pixel. Nifty!
Now, I said before that we hue rotated the pallet to make it the right color, but how do we tell the program what color we want? Thankfully, Renpy's built in bars were exactly what we needed for the job! It made for a nice, simple slider that can let you select any color of the spectrum After the hue slider, it was time for the hard part; selecting brightness and saturation. It was a drag.
No, literally, we used a Renpy drag object for it (not that it wasn't still the other kind of drag)- It took some coding magic (trial and error + some googling), but I managed to confine a draggable cursor to the area of the pallet with a bit of leeway to poke over the edge.
It honestly wasn't too bad! The part that was bad came after, when we had to read the position of the cursor and convert it to the brightness/saturation. See, this color picker has a dirty little secret; it doesn't actually read off the color from the pallet at all! It's actually calculated based on the position of the slider in the square and the hue it's all supposed to be set to by the slider.
To be honest, Renpy was acting... really weird when we tried to change the hue/saturation using the features of the drag, but I think we just don't have the knowledge to understand what we were doing wrong yet.
Regardless, I had to hack together a workaround involving passing the calculated saturation and brightness to a called label. It was weird and gross, but it worked.
Once we had all that, Star crammed it into the main project code and screwed with it a bit until she got it running. We couldn't start work on much without the color selector implemented, so she was quite eager to get it working.
I think the code still isn't quite everything it ought to be, so it's likely to get revamped once we have a better idea of what we're doing!
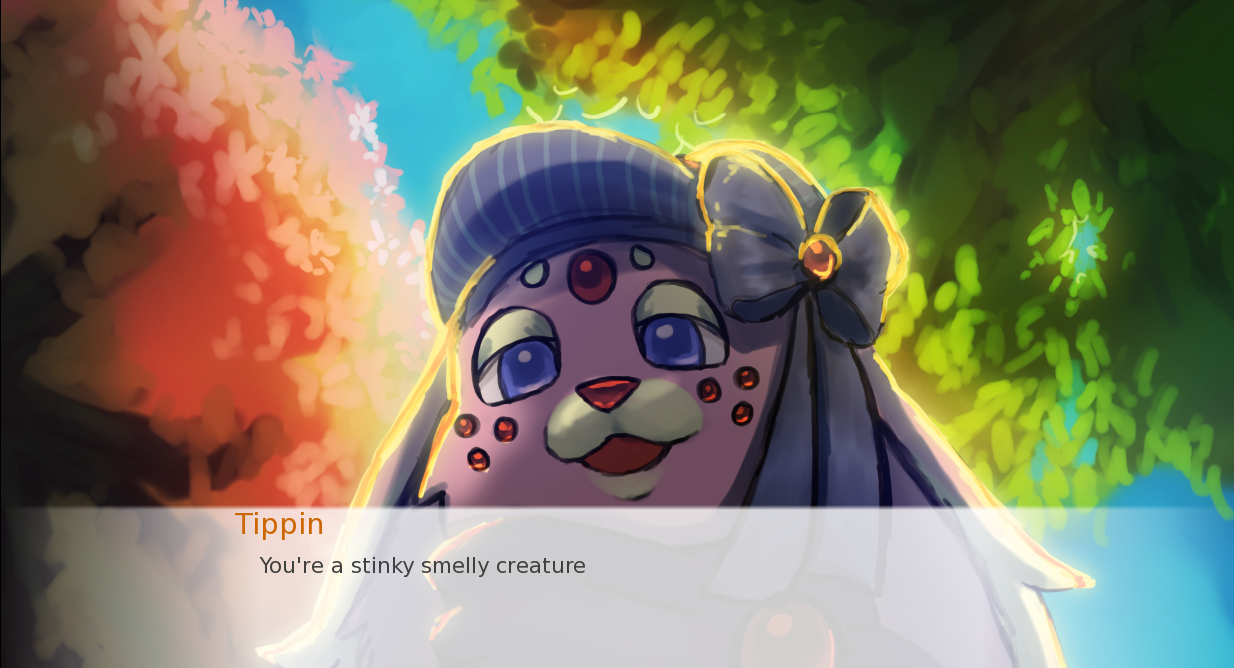
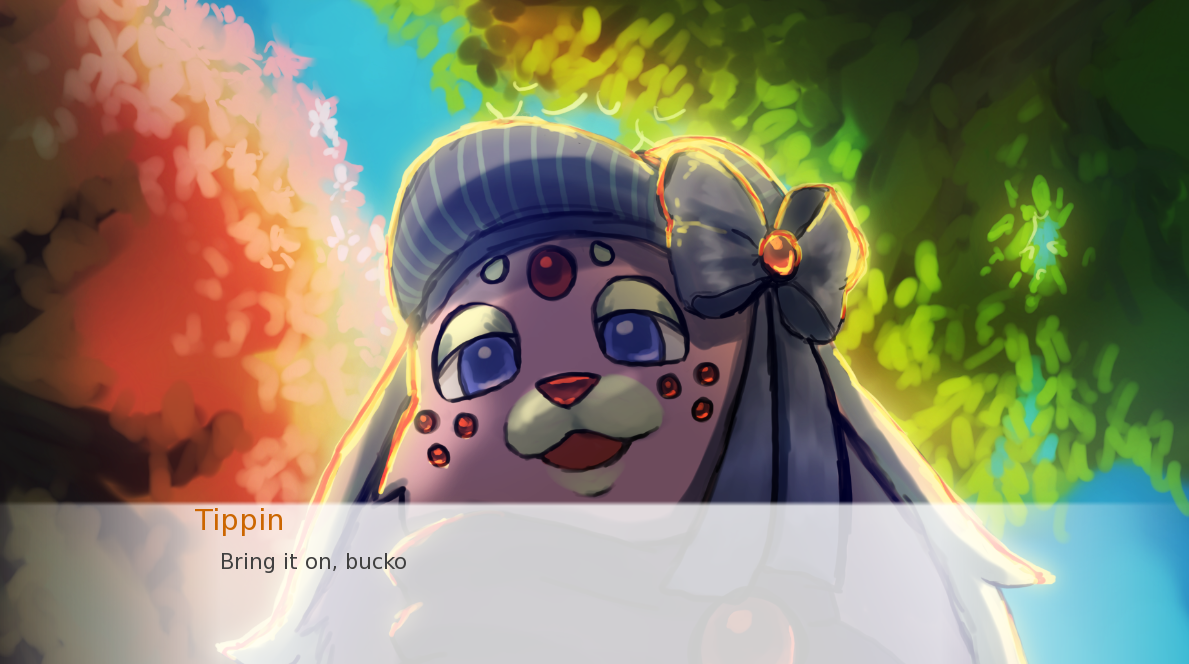
Now, finally, I want to leave you all with the delightful accidental result of testing the intro cutscene at the same time as we were testing an event randomizer with placeholder dialogue!
If you read all the way to the end, thank you! If what we're doing makes you happy, we'd always love to hear about it in a comment! And if you want to support us, you can always tell someone you know about our page! It always helps to have more people interested! We aren't just making the game for ourselves, after all~
Leave a comment
Log in with itch.io to leave a comment.